
One of the biggest misconceptions around React Native is that Android Studio is required.
It isn't.
Android Studio is mostly a convenient GUI around the Android SDK, emulator, and some debugging tools. If you're comfortable in the terminal, you can install only the components React Native actually needs.
This works on virtually any Linux distribution, whether you're using Arch, Ubuntu, Fedora, Debian, NixOS, or anything else.
Why I needed this
Expo Go is great until your project depends on native modules. Popular libraries like:
- for high-performance local storage
- for advanced camera features and frame processors
- for native Firebase services like Analytics, Crashlytics, and Messaging
- for in-app purchases
and many more require a custom development build instead of Expo Go because they depend on native modules that are not included in Expo Go.
Nitro modules, or your own native code aren't bundled into Expo Go, so they simply won't load. Expo provides development builds for this exact reason.
Bare React Native has the same requirement from the start because every native dependency must be compiled into the application.
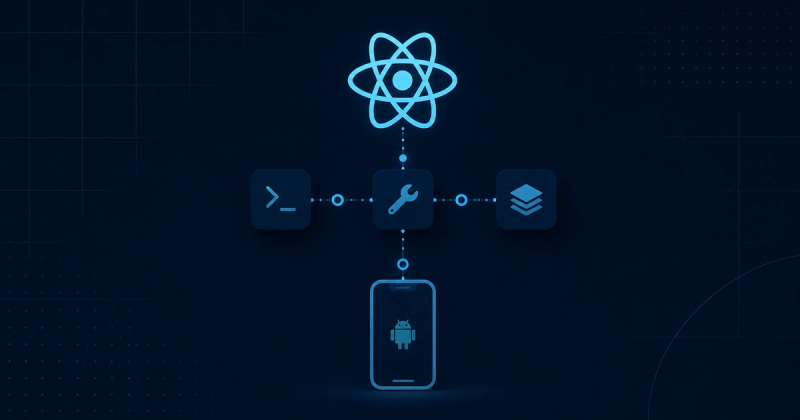
So the only things you actually need are:
- Android SDK
- Platform Tools (
adb) - Build Tools
- Android platform
- Emulator (optional if using a physical device)
- Java
So no Android Studio required.
Installing the Android SDK
How you install the SDK depends on your distribution.
yay -S android-sdk-cmdline-tools-latestSome other approaches are:
- Android command line tools from your distro's package manager
- Google's official command line tools
mkdir -p ~/Android/Sdk/cmdline-tools
cd ~/Android/Sdk/cmdline-tools
wget https://dl.google.com/android/repository/commandlinetools-linux-11076708_latest.zip
unzip commandlinetools-linux-11076708_latest.zip
mv cmdline-tools latest
Also make sure java is installed in your system.
brew install openjdk@17Once you have sdkmanager, install the required SDK components:
sdkmanager \
  "platform-tools" \
  "platforms;android-35" \
  "build-tools;35.0.0" \
  "emulator"
You may also need to accept the Android licenses:
sdkmanager --licensesEnvironment variables
Regardless of how the SDK is installed, Android tools must be discoverable.
Typically you'll need something similar to:
export ANDROID_HOME=/path/to/android-sdk

export PATH="$PATH:$ANDROID_HOME/platform-tools"
export PATH="$PATH:$ANDROID_HOME/emulator"
export PATH="$PATH:$ANDROID_HOME/cmdline-tools/latest/bin"
The exact SDK location depends on how you installed it.
Verify everything is available:
adb version
sdkmanager --version
avdmanager version
emulator -version
If one of these commands isn't found, your PATH probably isn't configured correctly.
Creating an emulator (Optional)
Download a system image if you haven't already:
sdkmanager "system-images;android-35;google_apis;x86_64"Create an emulator:
avdmanager create avd \
  -n Pixel \
  -k "system-images;android-35;google_apis;x86_64"
List available emulators:
emulator -list-avdsStart one:
emulator -avd PixelSome Linux installations ship older device definitions, so if a particular Pixel profile doesn't exist, simply choose another available device. It only affects the default hardware profile.
Hardware acceleration
Before launching the emulator, make sure hardware virtualization is available.
egrep -c '(vmx|svm)' /proc/cpuinfoA non-zero value means virtualization is supported.
Also ensure your user has permission to use KVM:
groups | grep kvmWithout KVM, the Android emulator will be significantly slower.
Building the development client
For Expo projects:
npx expo install expo-dev-client
npx expo prebuild
npx expo run:android
prebuild generates the native Android project.
run:android compiles the app with Gradle and installs it onto any device visible through adb.
Before building, it's worth confirming your emulator or phone is connected:
adb devicesUsing a physical device
An emulator isn't required.
Enable USB debugging on an Android phone, connect it through ADB, and React Native treats it exactly like an emulator.
For many workflows, especially camera APIs, sensors, Bluetooth, or NFC, testing on a real device is actually preferable.
Daily workflow
Once everything is configured, development is straightforward:
emulator -avd Pixel &
npx expo start --dev-client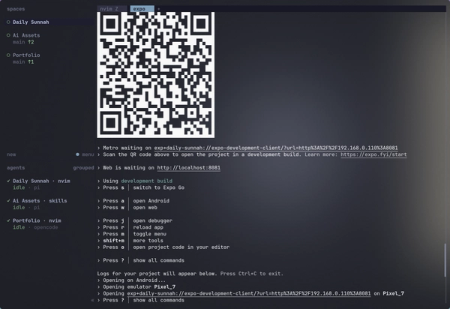 Fast Refresh behaves exactly the same as Expo Go.
You only need to run npx expo run:android again when your native dependencies change.
My setup
[tools]
bun = "latest"
"npm:eas-cli" = "latest"
java = "temurin-17"
android-sdk = "latest"
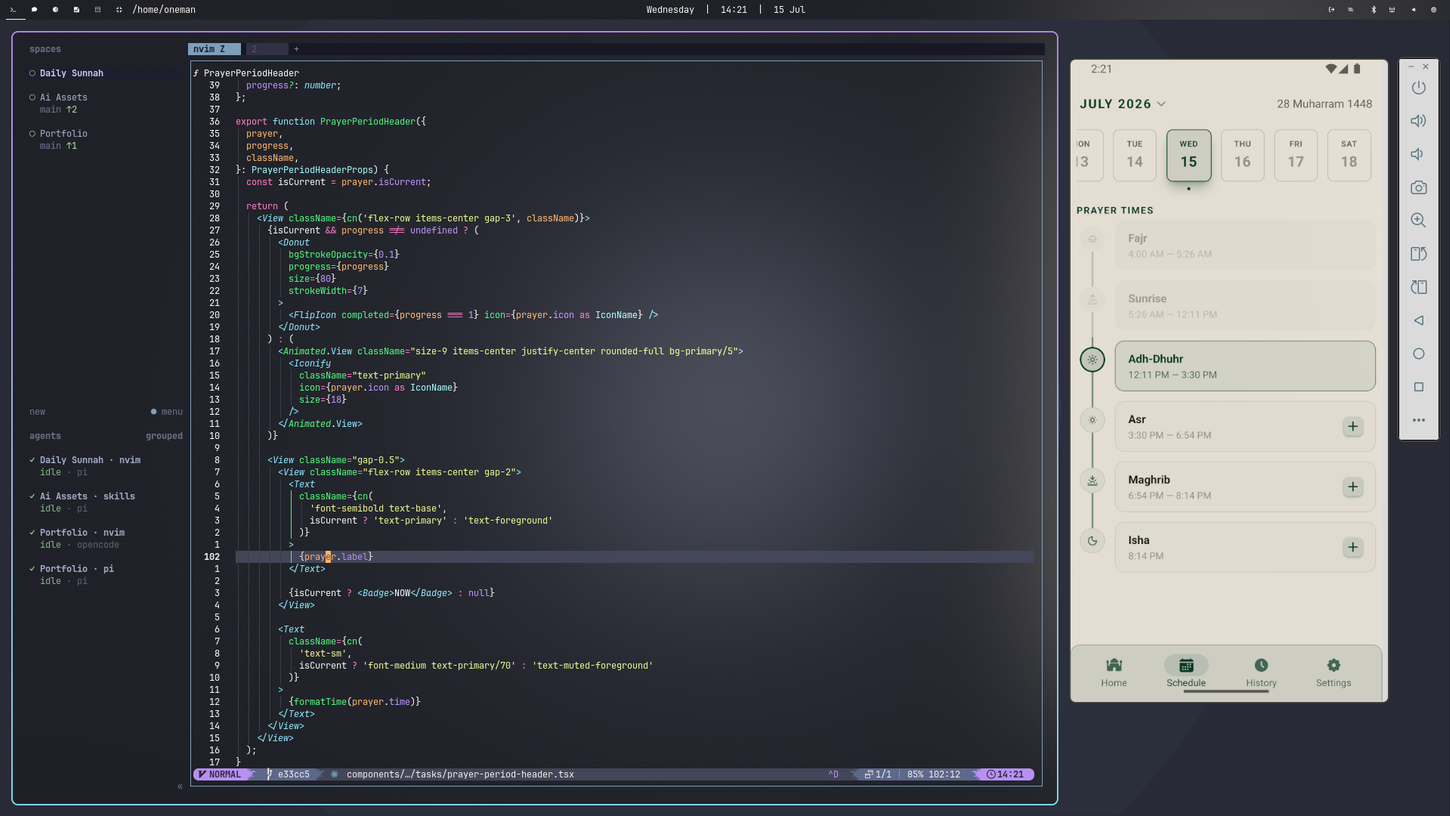
On my machine, I use Arch Linux together with mise to manage the Android SDK, Java, and Node versions.
The commands above are intentionally distribution-agnostic, so they should work regardless of how you install the Android SDK.